How to Use an RV Water Pressure Regulator
It screws onto the spigot, not onto the trailer. That one detail decides whether your hose is protected along with your plumbing, and most people get it wrong.
Heads up: this page contains affiliate links. If you buy through one, Camp & Chock may earn a commission at no extra cost to you. It never changes which product we put first — how this site is funded.
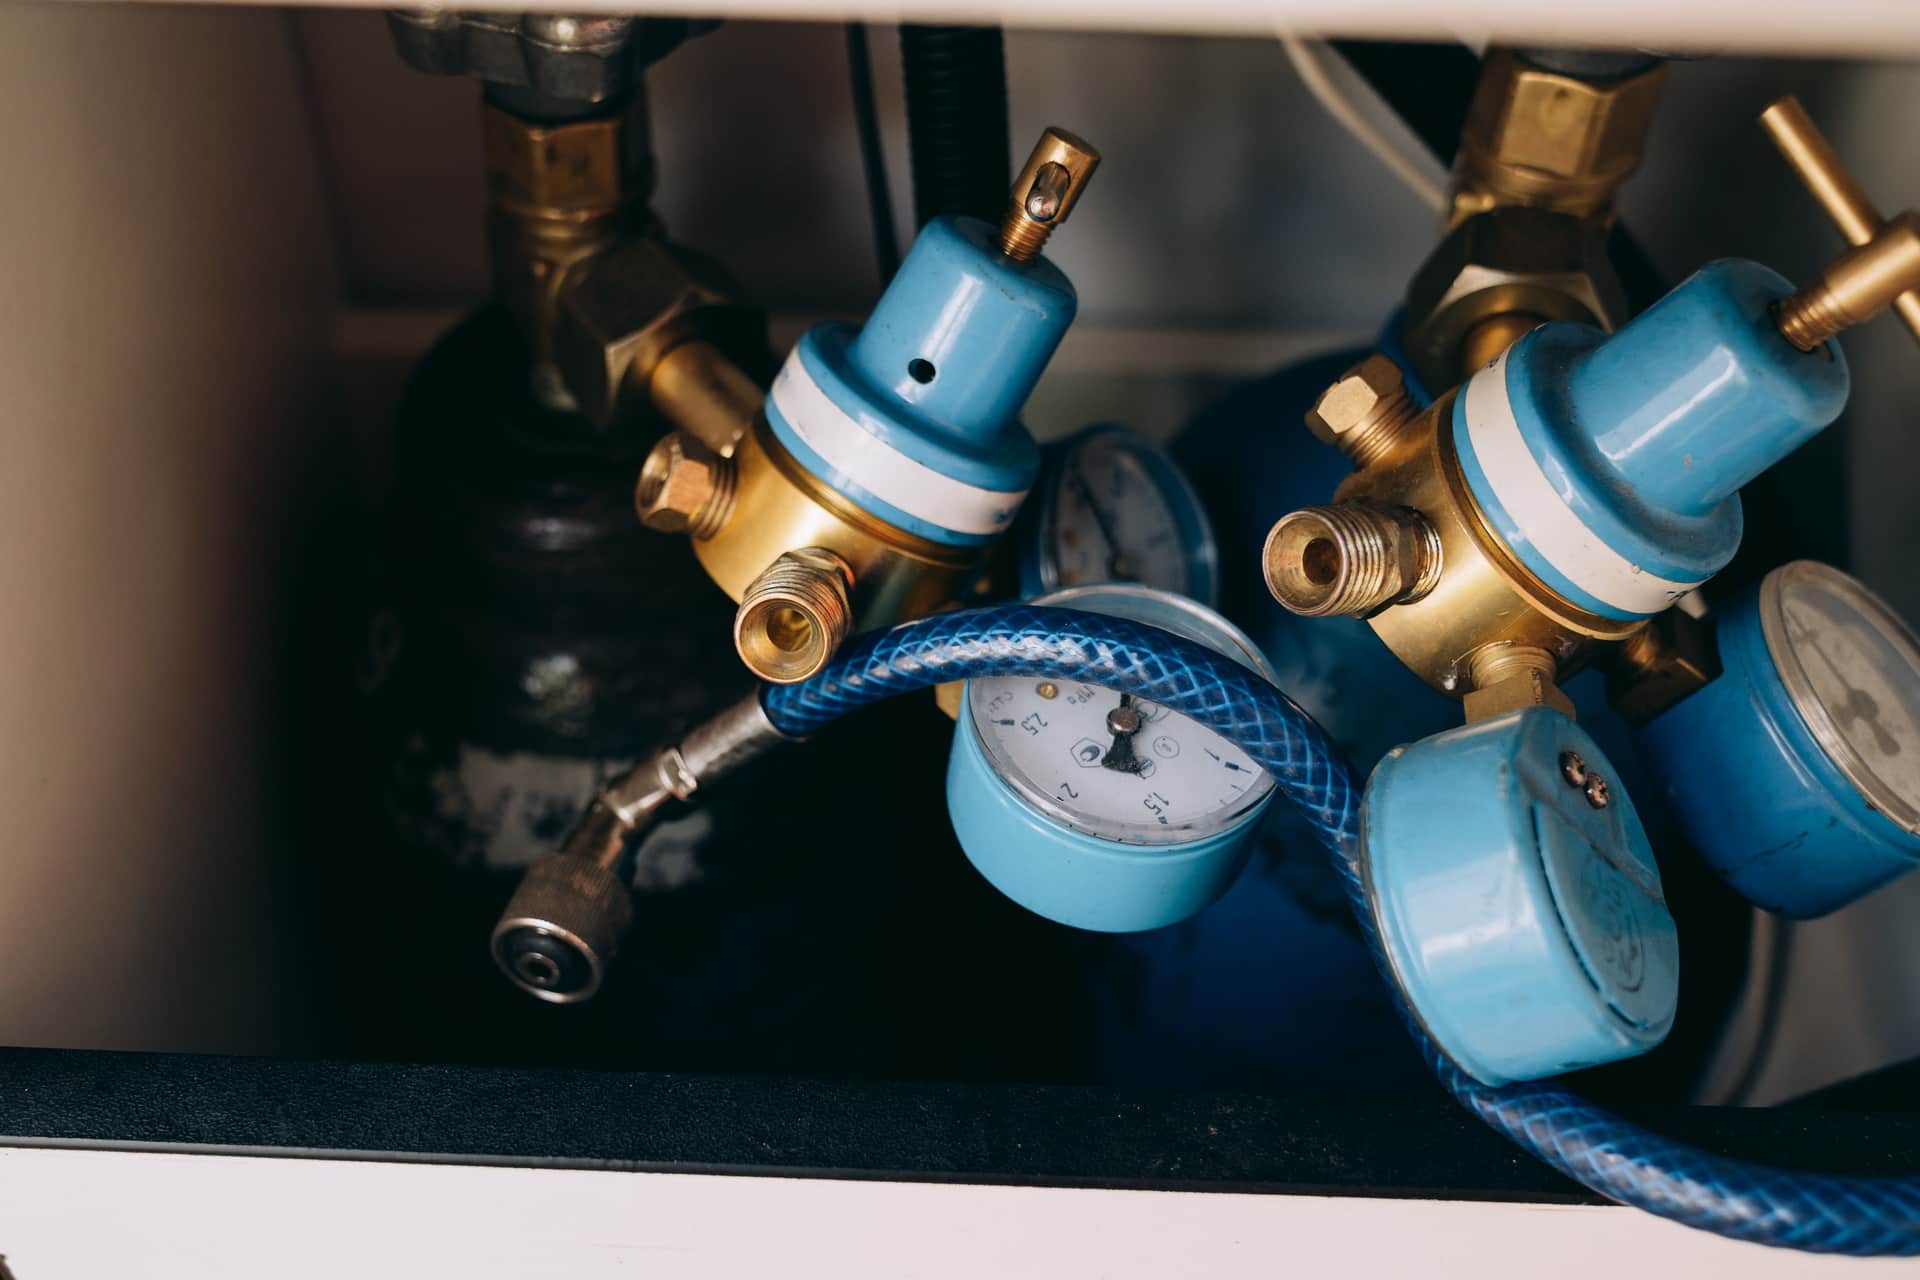
Screw the regulator directly onto the campground spigot, then your hose onto the regulator, then the trailer. If it is adjustable, set it to around 45 to 50 psi, which protects the plumbing while leaving a usable shower. The common mistake is fitting the regulator at the trailer end of the hose, which protects the trailer and leaves the whole length of hose sitting at whatever the park is delivering — and the hose is the part lying in the sun on the ground.
Part of our sewer and water guide. Our pressure regulator roundup covers which one to buy. This page is the part nobody explains: where it goes and what number to put it on.
Why a regulator is on the list at all
A campground spigot is connected to whatever the park’s water system delivers, and that varies enormously — from a trickle at the end of a long run to pressures well above what RV plumbing is built for. Your trailer’s water lines, fittings and the connections behind the walls are not municipal-grade plumbing. They are PEX and plastic fittings sized for RV use.
The failure, when it happens, is a split line or a blown fitting inside a wall or under a floor, with the water on. That is the most expensive thing on this entire website and it is prevented by a brass fitting that costs less than a tank of fuel. That is the whole argument and it is why we put a regulator ahead of a filter in every list.
Where it goes: the spigot, not the trailer
The regulator reduces pressure downstream of itself. Everything upstream stays at full park pressure. So the position decides what is protected.
The same part, two placements
| Placement | What is protected | What is not |
|---|---|---|
| At the spigot (correct) | The hose, every fitting, the filter and the trailer | Nothing downstream of the spigot |
| At the trailer (common) | The trailer plumbing | The whole hose, the filter housing and every quick connect |
The hose is the part that matters here. A drinking water hose is lying on the ground in the sun, getting walked over and driven past, and it is the thing most likely to let go at a fitting. Protecting it costs nothing extra; it is simply where you choose to screw the regulator on.
The full connection order
Spigot, then regulator, then filter, then hose, then trailer. The filter sits after the regulator so it is also protected, and because a filter housing is one of the things that leaks when over-pressured. There is a real argument about whether the filter goes at the spigot end or the trailer end for water quality reasons, and we work through it properly in water filter and pressure regulator: which order. What is not in dispute is that the regulator goes first.
Which way round does it screw on?
Regulators have a female swivel end and a male threaded end, and the flow direction is normally marked with an arrow on the body. The female swivel goes onto the spigot’s male thread; the hose’s female coupling goes onto the regulator’s male end. If there is an arrow, it points toward the trailer.
Fitted backward, a regulator does not regulate. It will pass water and everything will look normal, which is exactly why this is worth checking once rather than assuming. Hand-tight plus a short turn with a wrench is enough — these are tapered threads with a washer, not something to lean on.
What to set an adjustable regulator to
A fixed regulator has no setting, which is the point of it: there is nothing to get wrong. An adjustable one with a gauge is better in two ways — it shows you what the park is delivering, and it lets you keep usable flow instead of a fixed trickle — at the cost of one decision.
Start at 45 to 50 psi. That range is comfortably below what RV plumbing is built for and high enough for a shower that works. If your trailer’s manufacturer publishes a maximum inlet pressure, respect that number over anything on this page — check the owner’s manual, because it is the only figure that is specific to your rig.
Set it with water flowing, not static. This is the part that trips people up. Open a faucet inside the trailer, watch the gauge, and adjust. A gauge reading with everything closed shows static pressure, which is not the pressure your plumbing sees while water is actually moving.
Turn it down, not up, if anything hammers. If you get a bang in the lines when a faucet closes, you are set high enough for water hammer, and that shock loading is itself a risk to fittings. Come down 5 psi at a time until it stops.
Reading what the gauge tells you about the park
The useful side effect of a gauge is education. Connect without adjusting and look at the static reading: you will find that one park delivers 35 psi and the next delivers three times that, which is exactly why a regulator is not optional. A park at the low end also explains a weak shower that has nothing to do with your trailer, and tells you a clogged filter is not the culprit.
What to buy
The adjustable unit if you want to see and set the pressure, the brass fixed one if you want nothing to think about, and a drinking-water-rated hose downstream of either.
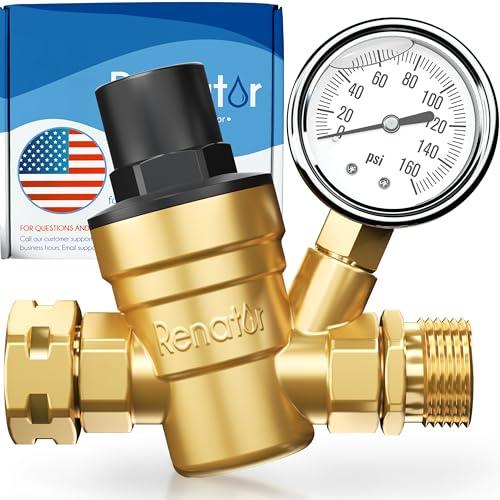
Best for Seeing and setting the pressure
Renator Adjustable Water Pressure Regulator with Gauge
The one with a dial: it shows what the park is delivering and lets you keep usable shower flow instead of a fixed trickle.
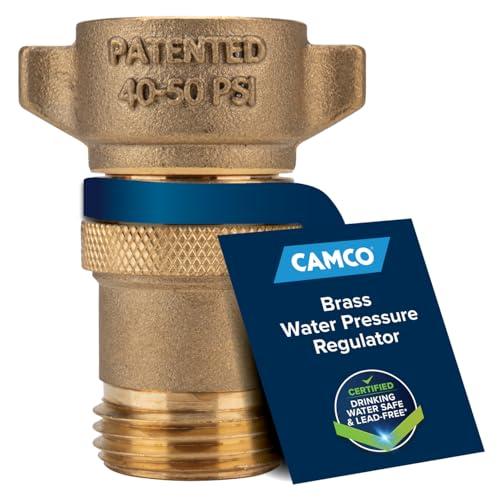
Best for The cheapest thing that prevents the worst damage
Camco Brass Water Pressure Regulator
The cheapest single item that prevents the most expensive damage. Fixed preset, brass body, screws on in four seconds.
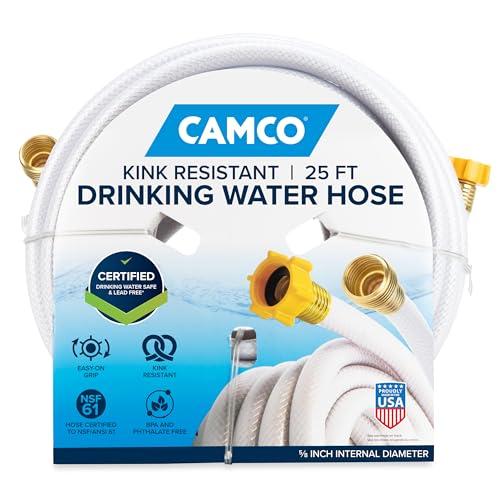
Best for The default fresh water hose
Camco TastePURE Drinking Water Hose (25 ft)
The correct part rather than an upgrade: a drinking-water-rated hose, in white so it never gets mixed up with the sewer gear.
Three habits that go with it
Leave the regulator on the spigot all stay. It is not something to fit only when you shower. Pressure spikes happen when other sites open and close valves, and those are exactly the events a regulator exists for.
Take it off when you leave, and keep it with the hose. Brass regulators left on spigots are the second most commonly abandoned item in RVing after wheel chocks. Our setup checklist has it on the departure walk-around.
Drain it for winter storage. Water left inside a brass body can freeze and crack it. Blow it through or shake it out and store it dry with the rest of the water gear.
Questions people actually ask
Where should an RV water pressure regulator be installed?
Directly onto the campground spigot, with the hose connected to the regulator. A regulator only reduces pressure downstream of itself, so fitting it at the trailer end leaves the whole hose and any filter housing at full park pressure.
What pressure should I set my RV water regulator to?
Around 45 to 50 psi is a sensible starting point, set with a faucet open rather than static. If your trailer's manufacturer publishes a maximum inlet pressure, that figure takes priority over any general advice.
Which way does a water pressure regulator go on?
The female swivel end goes onto the spigot and the hose connects to the male end. Most bodies have a flow arrow that points toward the trailer. Fitted backward it will still pass water but will not regulate.
Why is my RV water pressure regulator leaking?
Usually the rubber washer in the female swivel has flattened, split or fallen out. A missing washer drips no matter how tight the connection is, so replace it before looking at anything else.
Sources
Read next
Sewer & Water
Best RV Water Pressure Regulator
Fixed and adjustable pressure regulators compared, with the flow tradeoff explained and a pressure to aim for.
Sewer & Water
RV Water Filter and Pressure Regulator: Which Goes First
The order of the regulator and filter on a city water line, why it matters, and which of the two you actually need.
Sewer & Water
Best RV Water Filter for Hard Water
The honest answer on hardness, what a filter genuinely fixes, and the canister-versus-inline decision.
Sewer & Water
Best RV Fresh Water Hose
Drinking-water-safe hoses compared on length, flexibility and storage, plus why two hoses is the right answer.
Reviewed October 11, 2026. Spot something out of date? Tell us and we will fix it.