13 guides in this category
Sewer and Water Gear for Your First Camper Season
The part of RVing nobody demonstrates at the dealership. Done right it takes ten minutes and you never think about it. Done wrong it is the story you tell for years.
Buy this first
Camco RhinoFLEX 20-Ft Sewer Hose Kit
The complete first kit: 20 ft in two sections, both fittings, and a clear elbow so you can see when the tank is actually done.
Heads up: this page contains affiliate links. If you buy through one, Camp & Chock may earn a commission at no extra cost to you. It never changes which product we put first — how this site is funded.
The part nobody demonstrates at the dealership
Two systems share this section because they share a workflow: at every site you connect fresh water in and, at some point, you send waste water out. Done correctly the sewer job takes ten minutes and you never think about it again. Done badly it becomes the story you tell for years, and the difference is almost entirely about having the right four items and doing them in the right order.
The fresh water side is less dramatic and more expensive to get wrong. Campground water pressure is unregulated and varies enormously between sites; RV plumbing is not built for the top of that range. A burst line inside a wall is a repair you cannot see happening.
What to buy first
Four things, and they are all cheap: a 20-foot sewer hose, a clear elbow so you can see when the tank is actually empty, a pressure regulator, and a drinking-water hose. Add disposable gloves, which cost almost nothing and which you will not want to be without.
On length: fifteen feet reaches most sites, twenty reaches nearly all of them, and a 10-foot hose will eventually strand you with no workaround available. That question is worth settling properly — what size sewer hose you need.
How the category divides
On the waste side: the hose itself, a support so the run falls downhill the whole way, and tank treatment to keep things breaking down between dumps.
On the fresh side: a pressure regulator (protection), a drinking-water hose (safety — a garden hose is not rated for this), and a filter (taste, and optional on a first trip).
What decides price
For hoses, wall construction and fitting quality. A cheap hose is thin-walled and its fittings are the part that fails — usually at the worst possible moment. Upgrading here is the most commonly recommended first upgrade for a reason, and the direct comparison shows exactly what the extra money buys.
For regulators, adjustability. A cheap plastic inline regulator sets a fixed low pressure and reduces your flow to a trickle, which is why people remove them and then forget to put them back. An adjustable brass one holds a usable pressure and stays installed, which makes it the one that actually protects you.
The mistake first-season buyers make
Leaving the black tank valve open on a full-hookup site. It seems sensible — why not let it drain continuously? Because the liquid leaves and the solids stay, drying into a mass around the tank sensors that is genuinely difficult to clear. Keep both valves closed and dump when the tank is nearly full, so there is enough volume to carry everything out.
Full sequence in how to hook up an RV sewer hose, and the black tank flush guide covers keeping it clear afterward.
Roundups and top picks
Best Sewer Hose
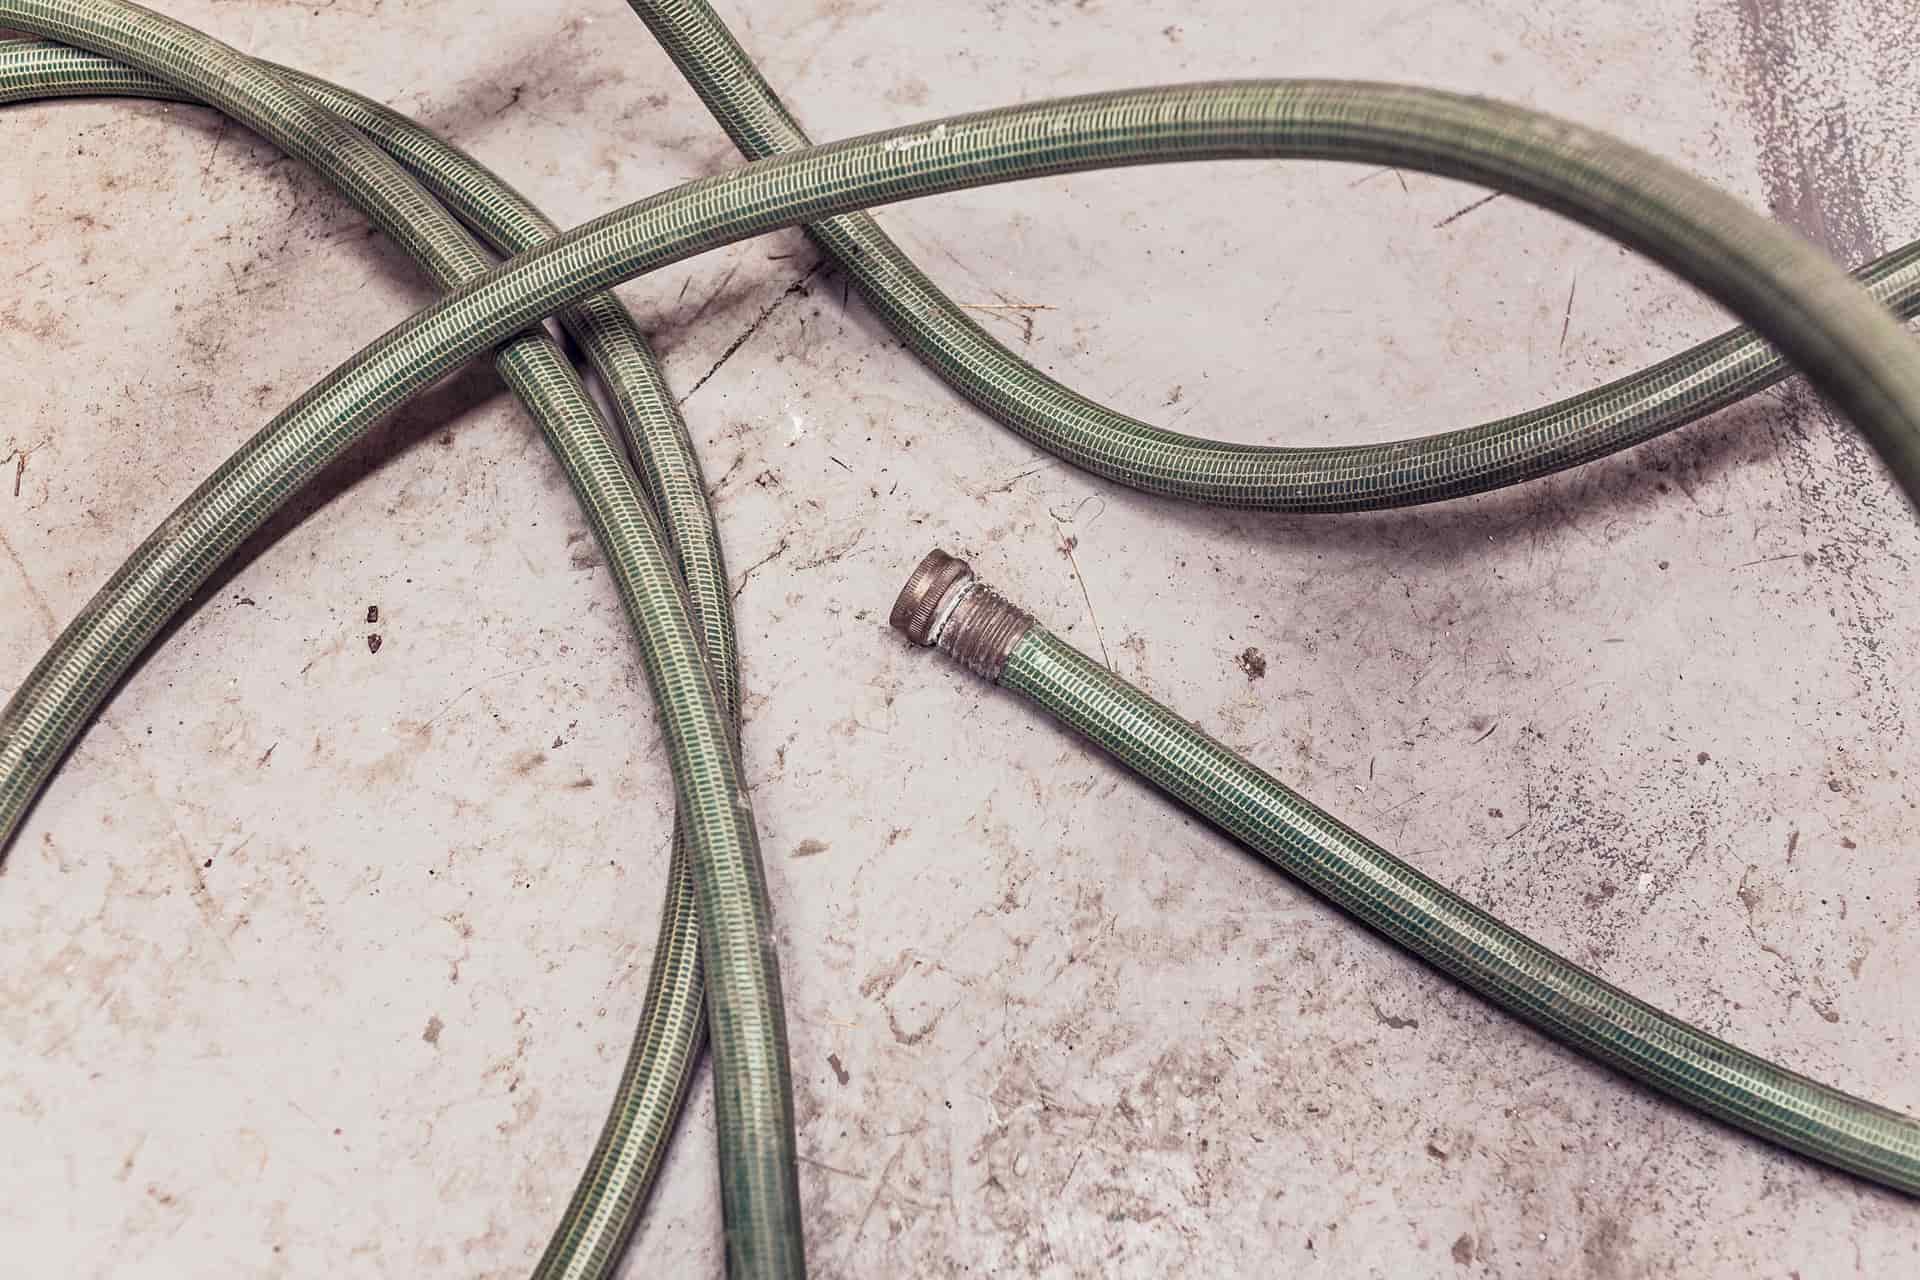
Best RV Sewer Hose for a First Travel Trailer
Complete sewer hose kits compared on length, wall thickness, fittings and storage, for someone doing this for the first time.

Best Hose Support
Best RV Sewer Hose Support
Folding and compressing hose supports compared, plus why the homemade versions usually disappoint.
Our pick
Camco Sidewinder RV Sewer Hose Support (20 ft)

Best Tank Treatment
Best RV Holding Tank Treatment
Granular and liquid tank treatments compared, plus the water-and-timing habit that does most of the work.
Our pick
Happy Campers Organic RV Holding Tank Treatment
Best Pressure Regulator
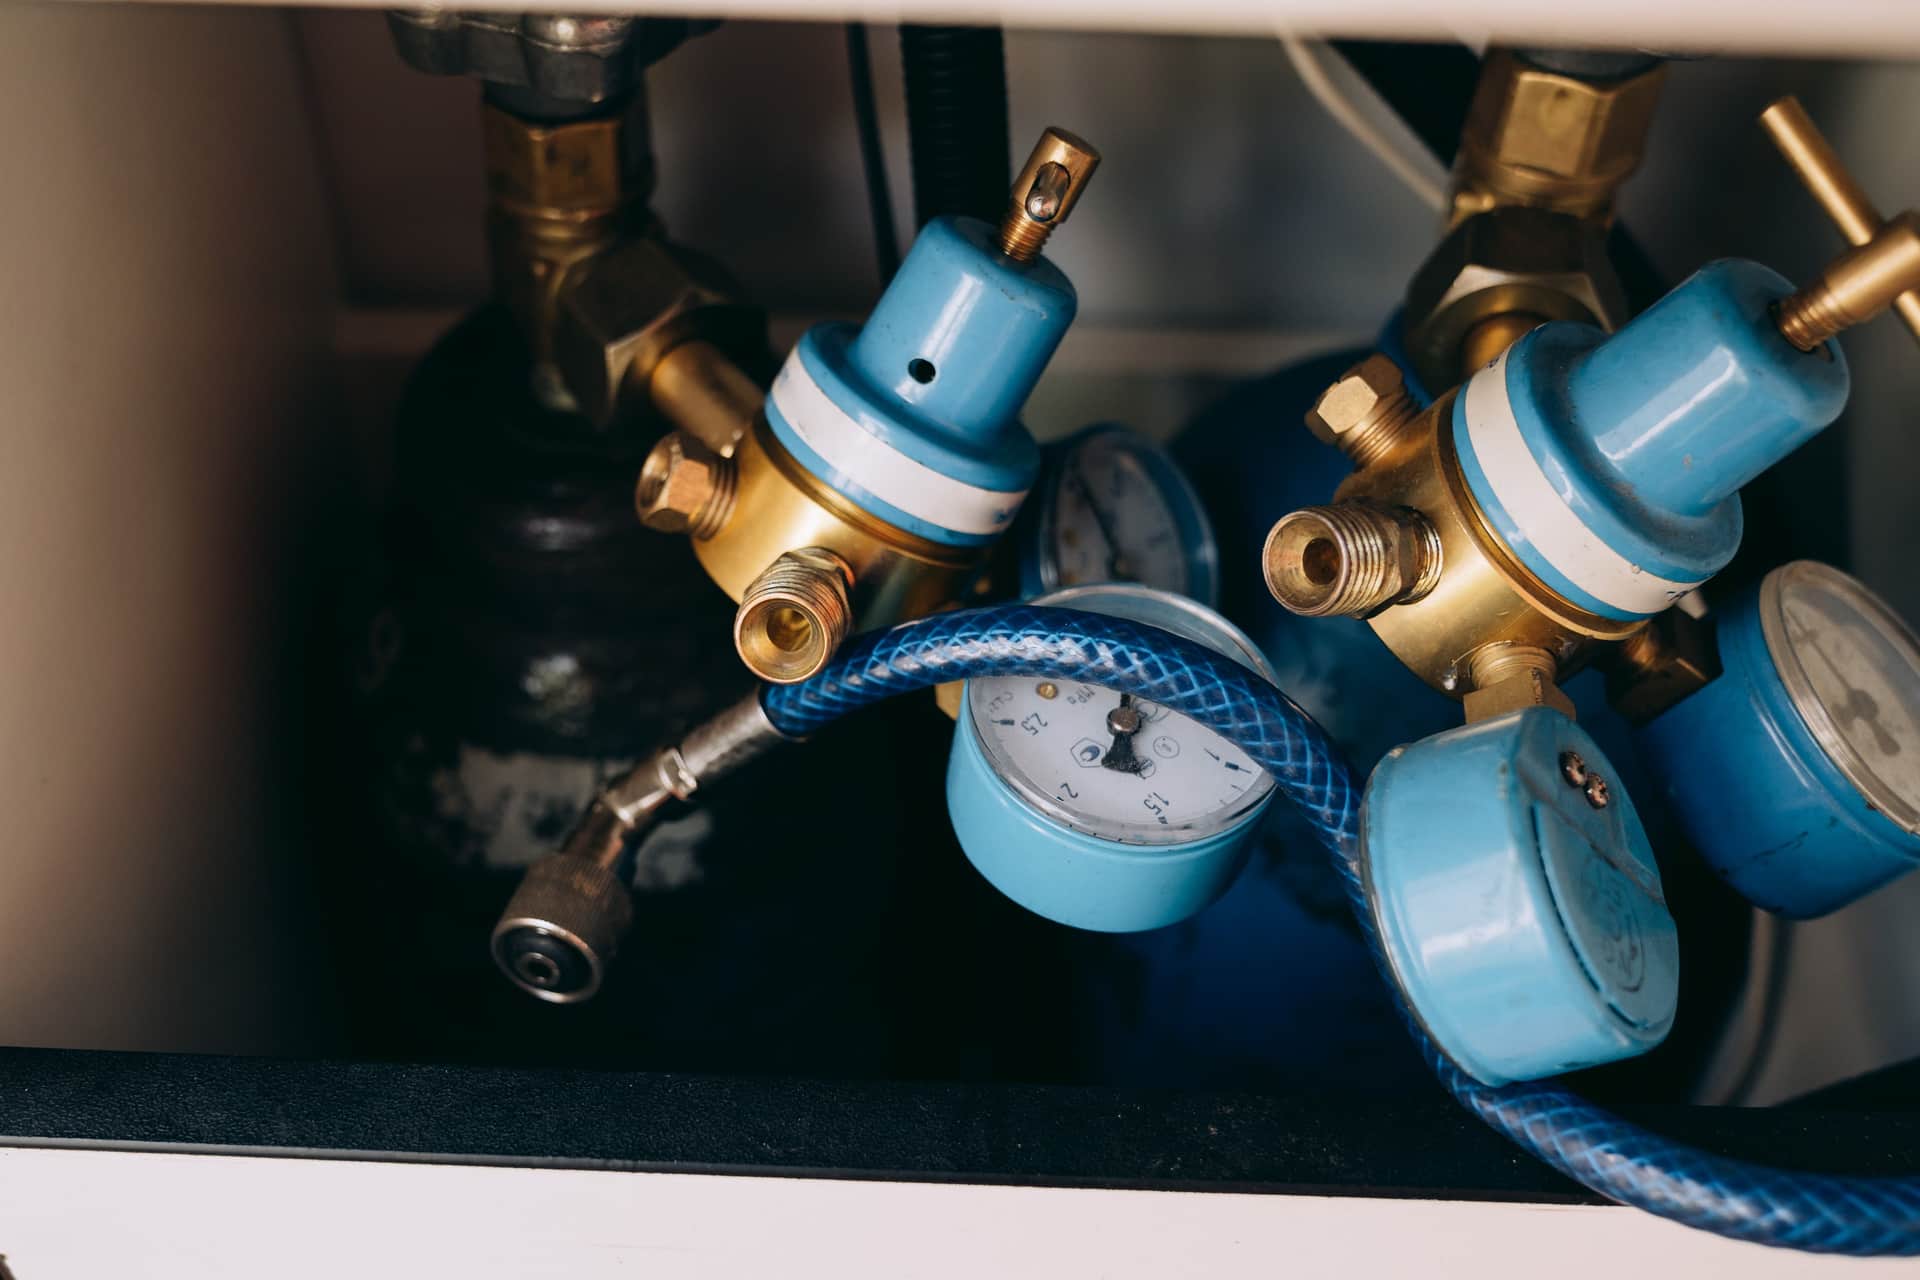
Best RV Water Pressure Regulator
Fixed and adjustable pressure regulators compared, with the flow tradeoff explained and a pressure to aim for.
Best Fresh Water Hose
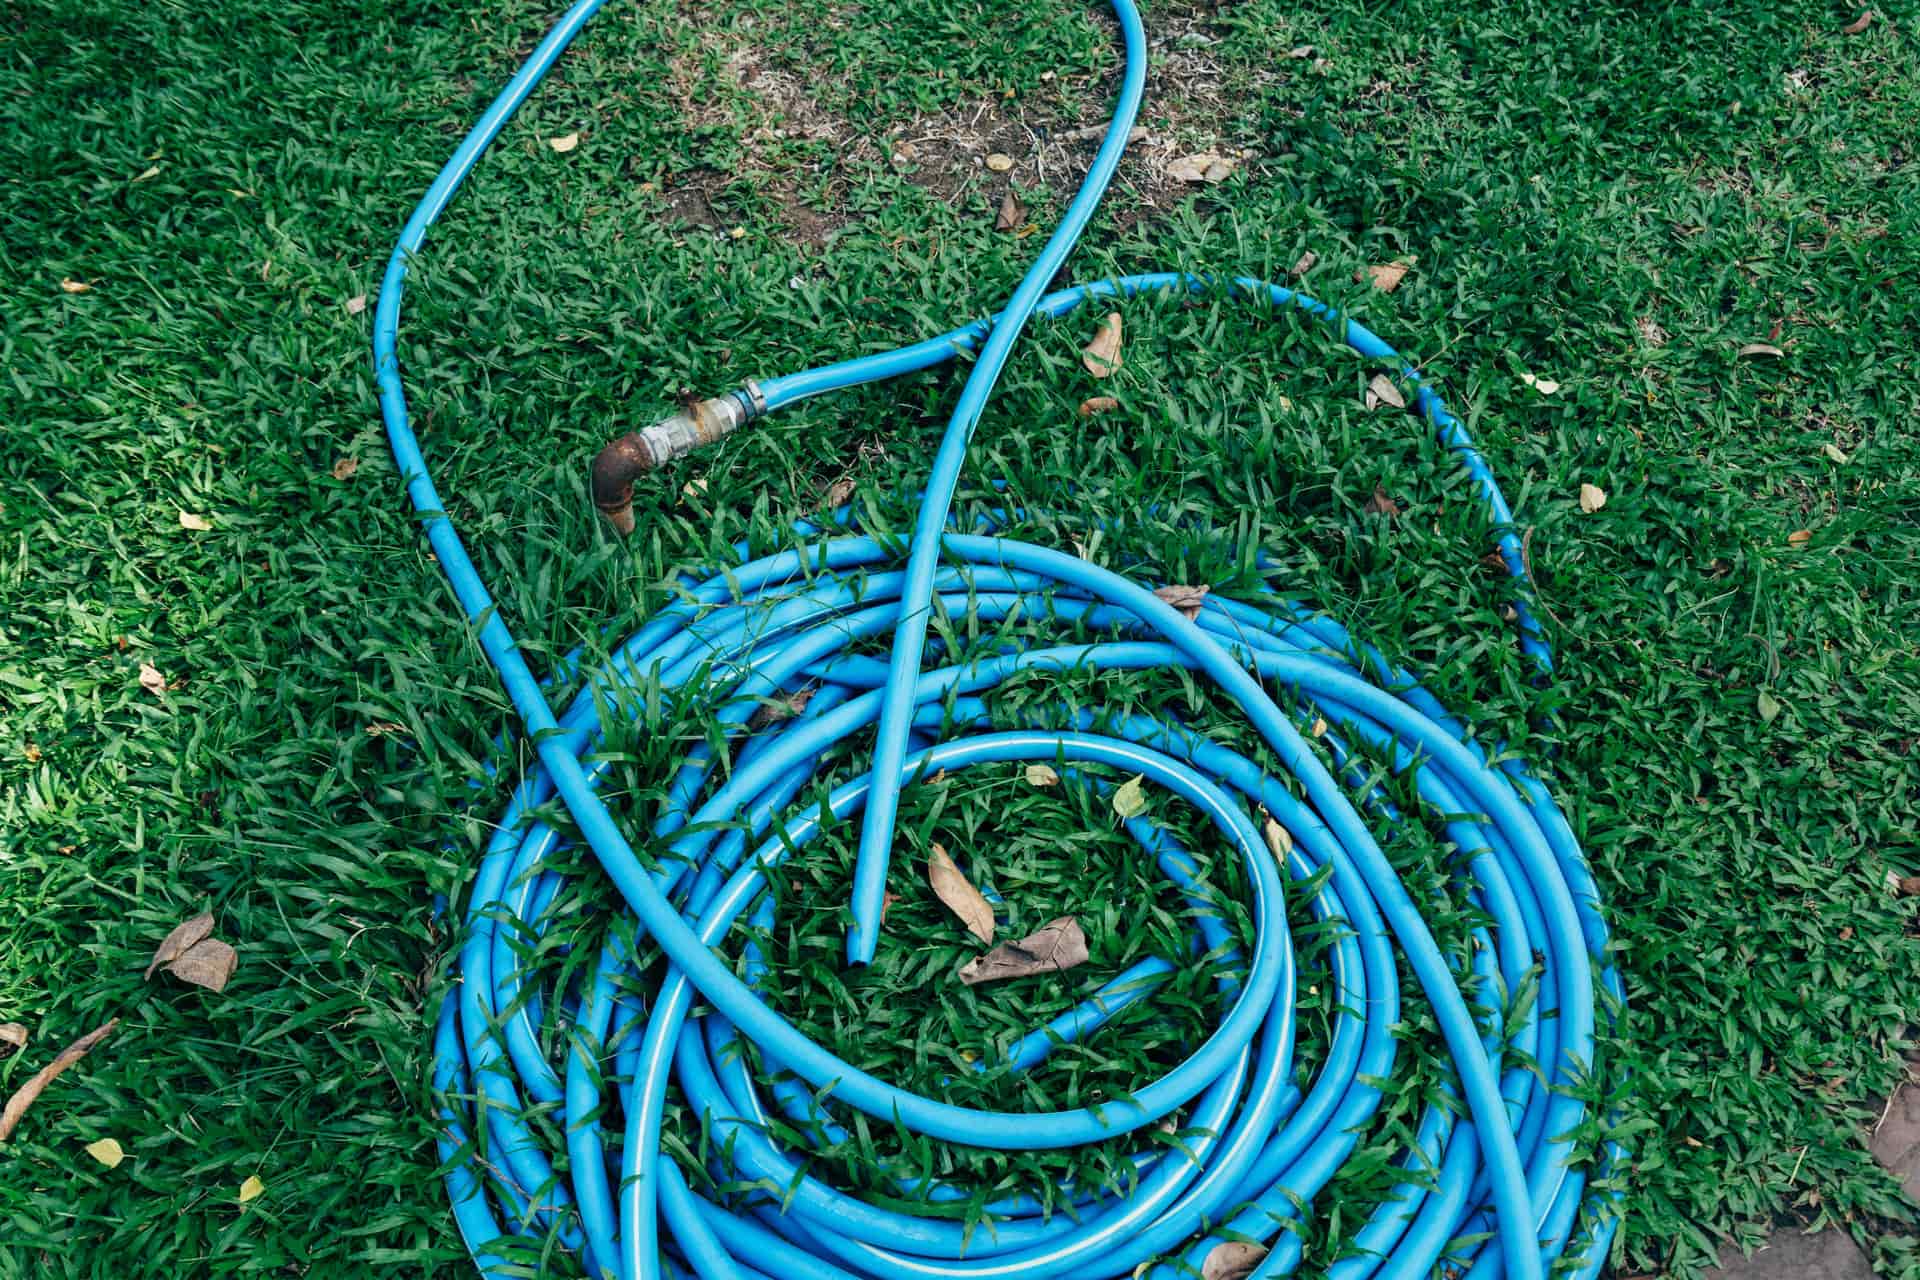
Best RV Fresh Water Hose
Drinking-water-safe hoses compared on length, flexibility and storage, plus why two hoses is the right answer.
Our pick
Camco TastePURE Drinking Water Hose (25 ft)
Best Water Filter
Best RV Water Filter
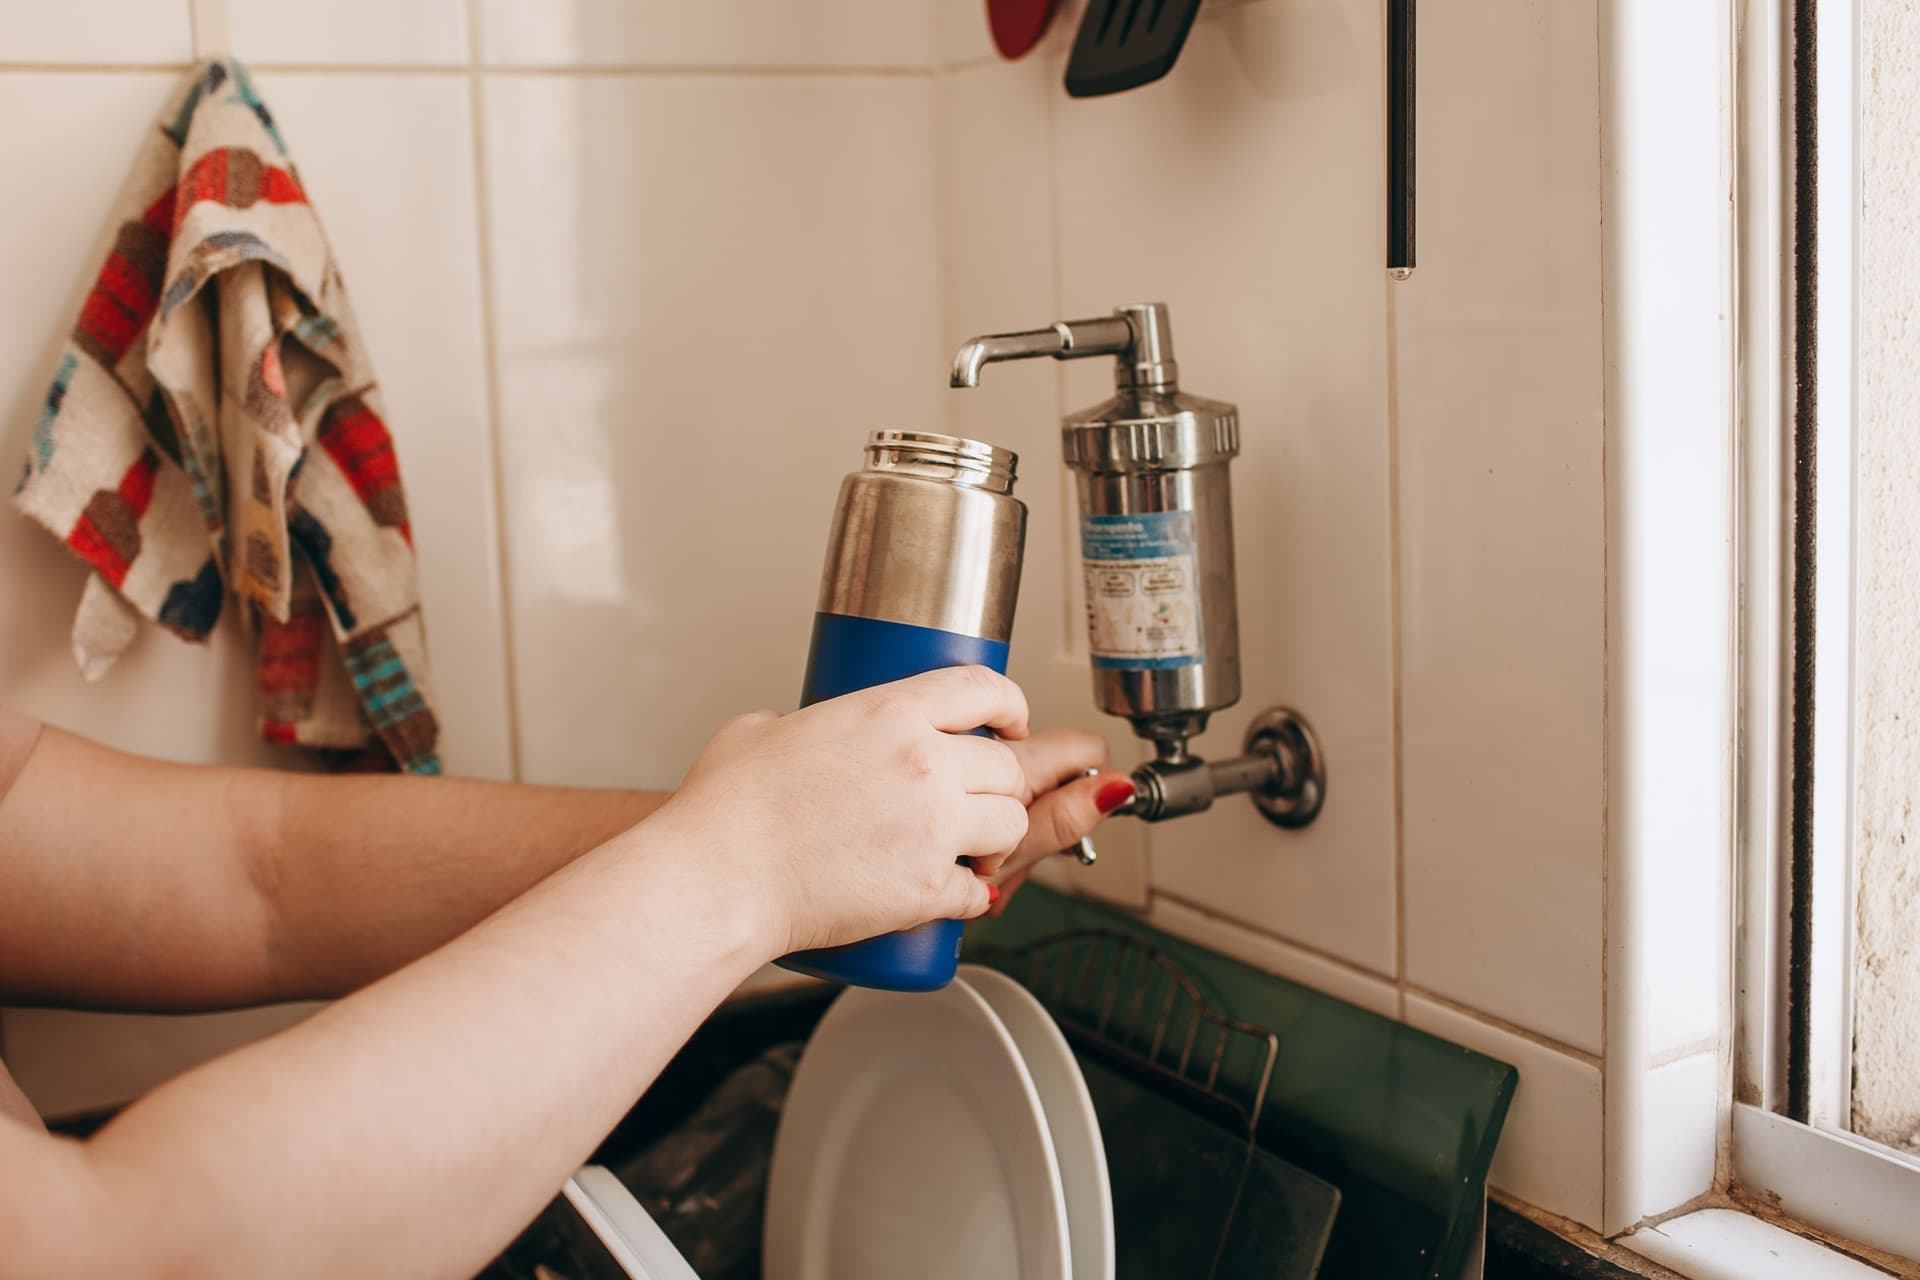
Inline and canister water filters compared, with an honest account of what filtration at this level achieves.
Head-to-head comparisons
Comparison
Camco RhinoFLEX vs RhinoEXTREME: Which Should You Buy?
The two Camco sewer hose kits compared on wall thickness, handling in cold weather and which sites justify the upgrade.
Comparison
Camco vs Valterra Sewer Hose: Which Kit to Buy
The two main sewer hose brands compared on fittings, availability and what actually fails first.
Guides and how-tos
Guide
What Size RV Sewer Hose Do I Need?
Sewer hose length and diameter settled, with a table matching site layouts to the length you will actually need.
Guide
How to Hook Up an RV Sewer Hose (Step by Step)
The full sewer connection and dumping sequence, in order, with the two checks that prevent the story you tell for years.
Guide
RV Sewer Hose Storage Ideas
Where to actually store a sewer hose, why the bumper usually will not work, and the separation rule that matters.
Guide
How to Sanitize an RV Fresh Water Tank
The full tank sanitizing procedure with dilution guidance from an authority, plus the non-bleach alternatives.
Guide
How to Flush an RV Black Tank
Black tank flushing with a built-in inlet or an add-on rinser, and why the sensors read wrong.