How to Install a Wireless RV Backup Camera
The video is wireless. The power is not. Here are the three realistic ways to feed a camera at the back of a trailer, easiest first.
Heads up: this page contains affiliate links. If you buy through one, Camp & Chock may earn a commission at no extra cost to you. It never changes which product we put first — how this site is funded.
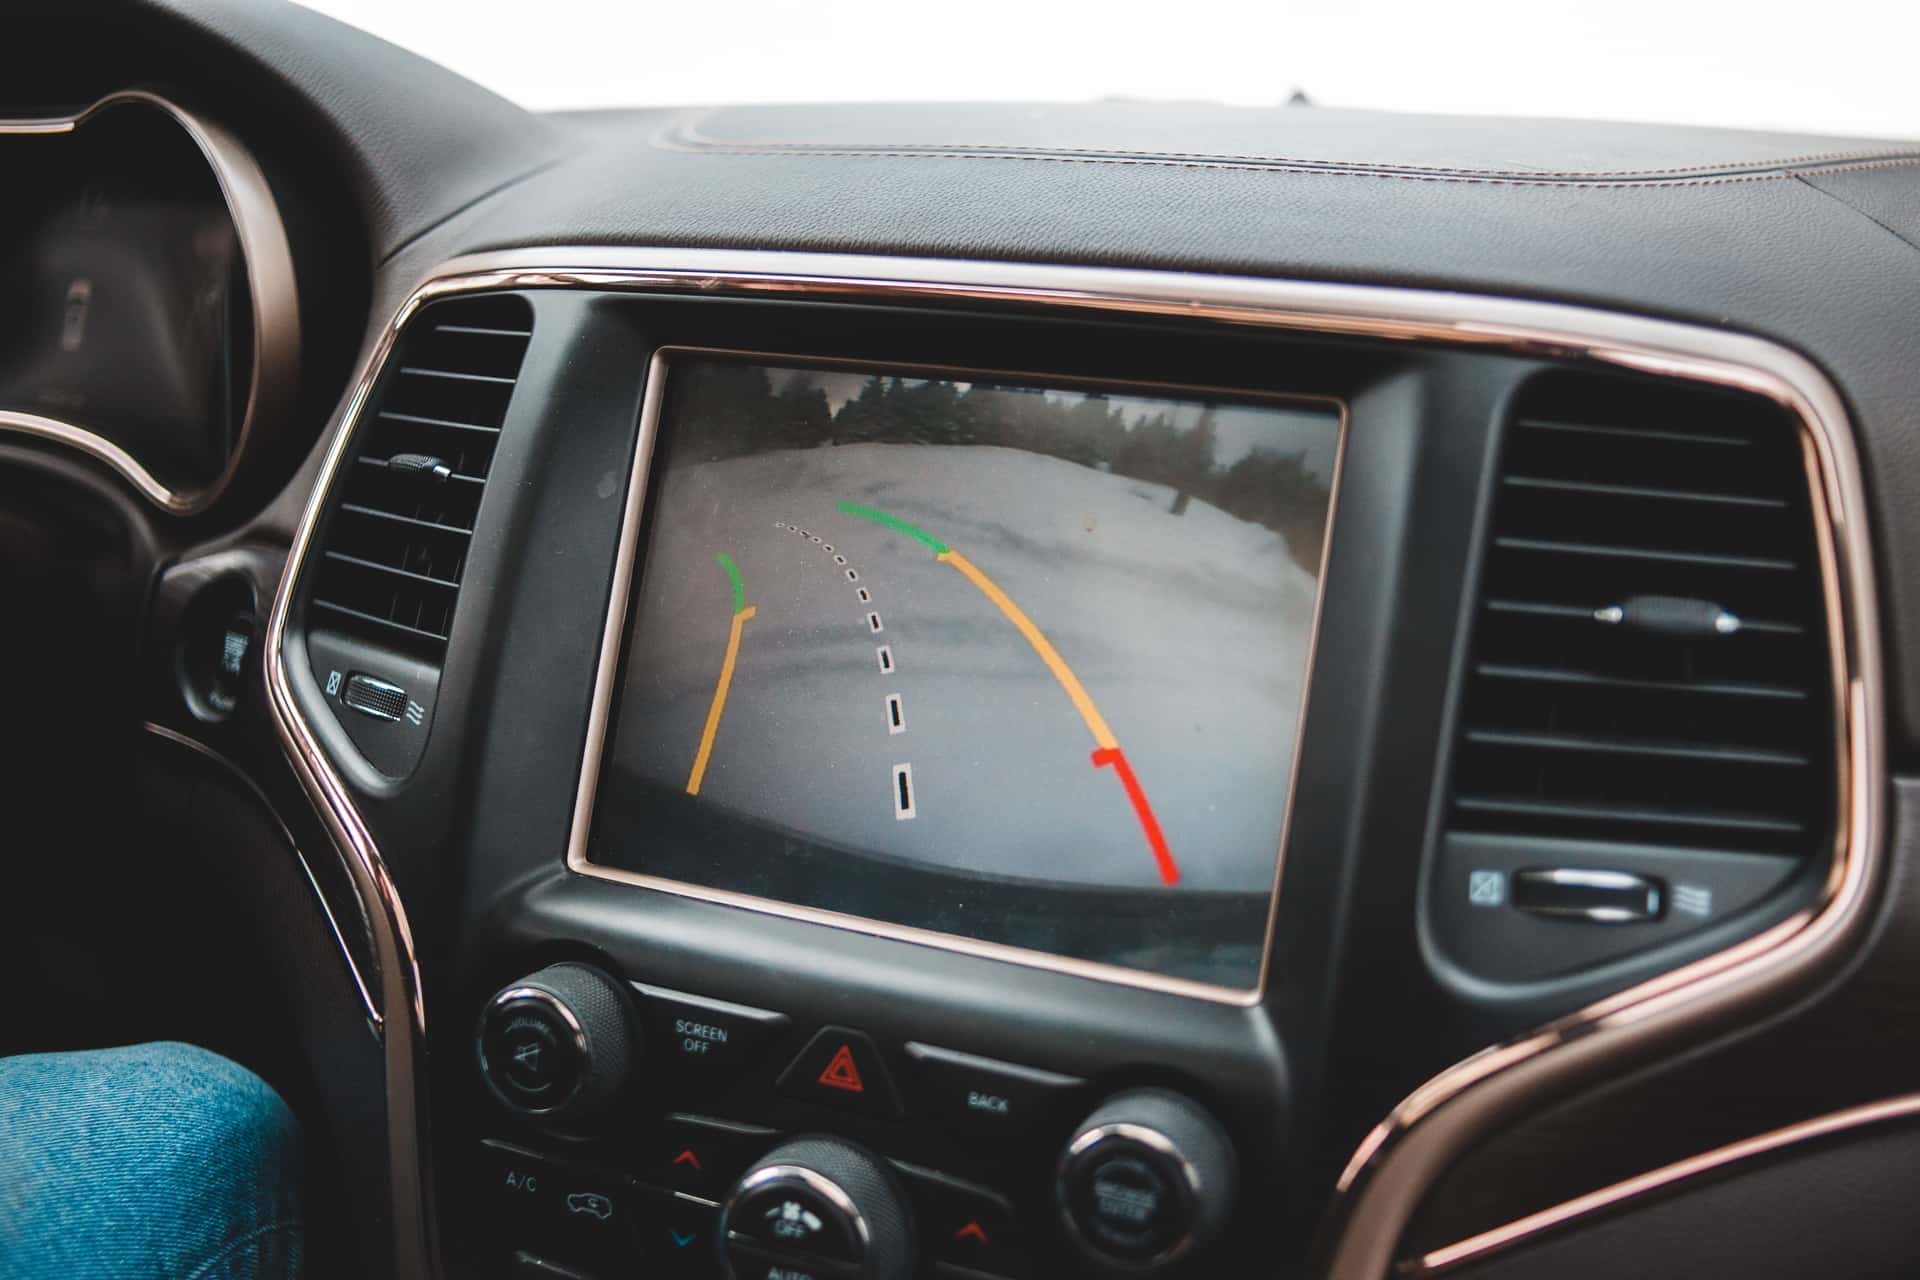
Wireless means no video cable down the length of the trailer. It does not mean the camera has no power requirement. The whole job is: decide where the power comes from, mount the camera high and centered, and aim it before you commit to holes.
Part of our towing and security guide. If you have not chosen a camera yet, do that first in the backup camera roundup — the factory-plate question changes which system to buy.
What you will need
The camera system, a screwdriver and basic hand tools, a sealant rated for RV exteriors, weatherproof electrical connectors, and stainless fasteners if you are drilling. A second pair of hands for the aiming step, which is much easier with somebody watching the monitor.
The gear for this job
The plate-matched camera if your trailer is pre-wired, a self-contained system if it is not, and a dedicated tool kit that lives in the trailer.
Best for Trailers with a factory Furrion mount
Furrion Vision S Wireless Backup Camera
If there is a black plate on the back of your trailer, this is the camera it was designed for, and fitting it is roughly a screwdriver job.
Best for Trailers with no factory mount
Haloview MC7108 Wireless Backup Camera System
The answer when your trailer has no factory camera plate: it works on anything, at the cost of mounting and powering it yourself.
Best for The screws that back out
Compact Household Tool Kit
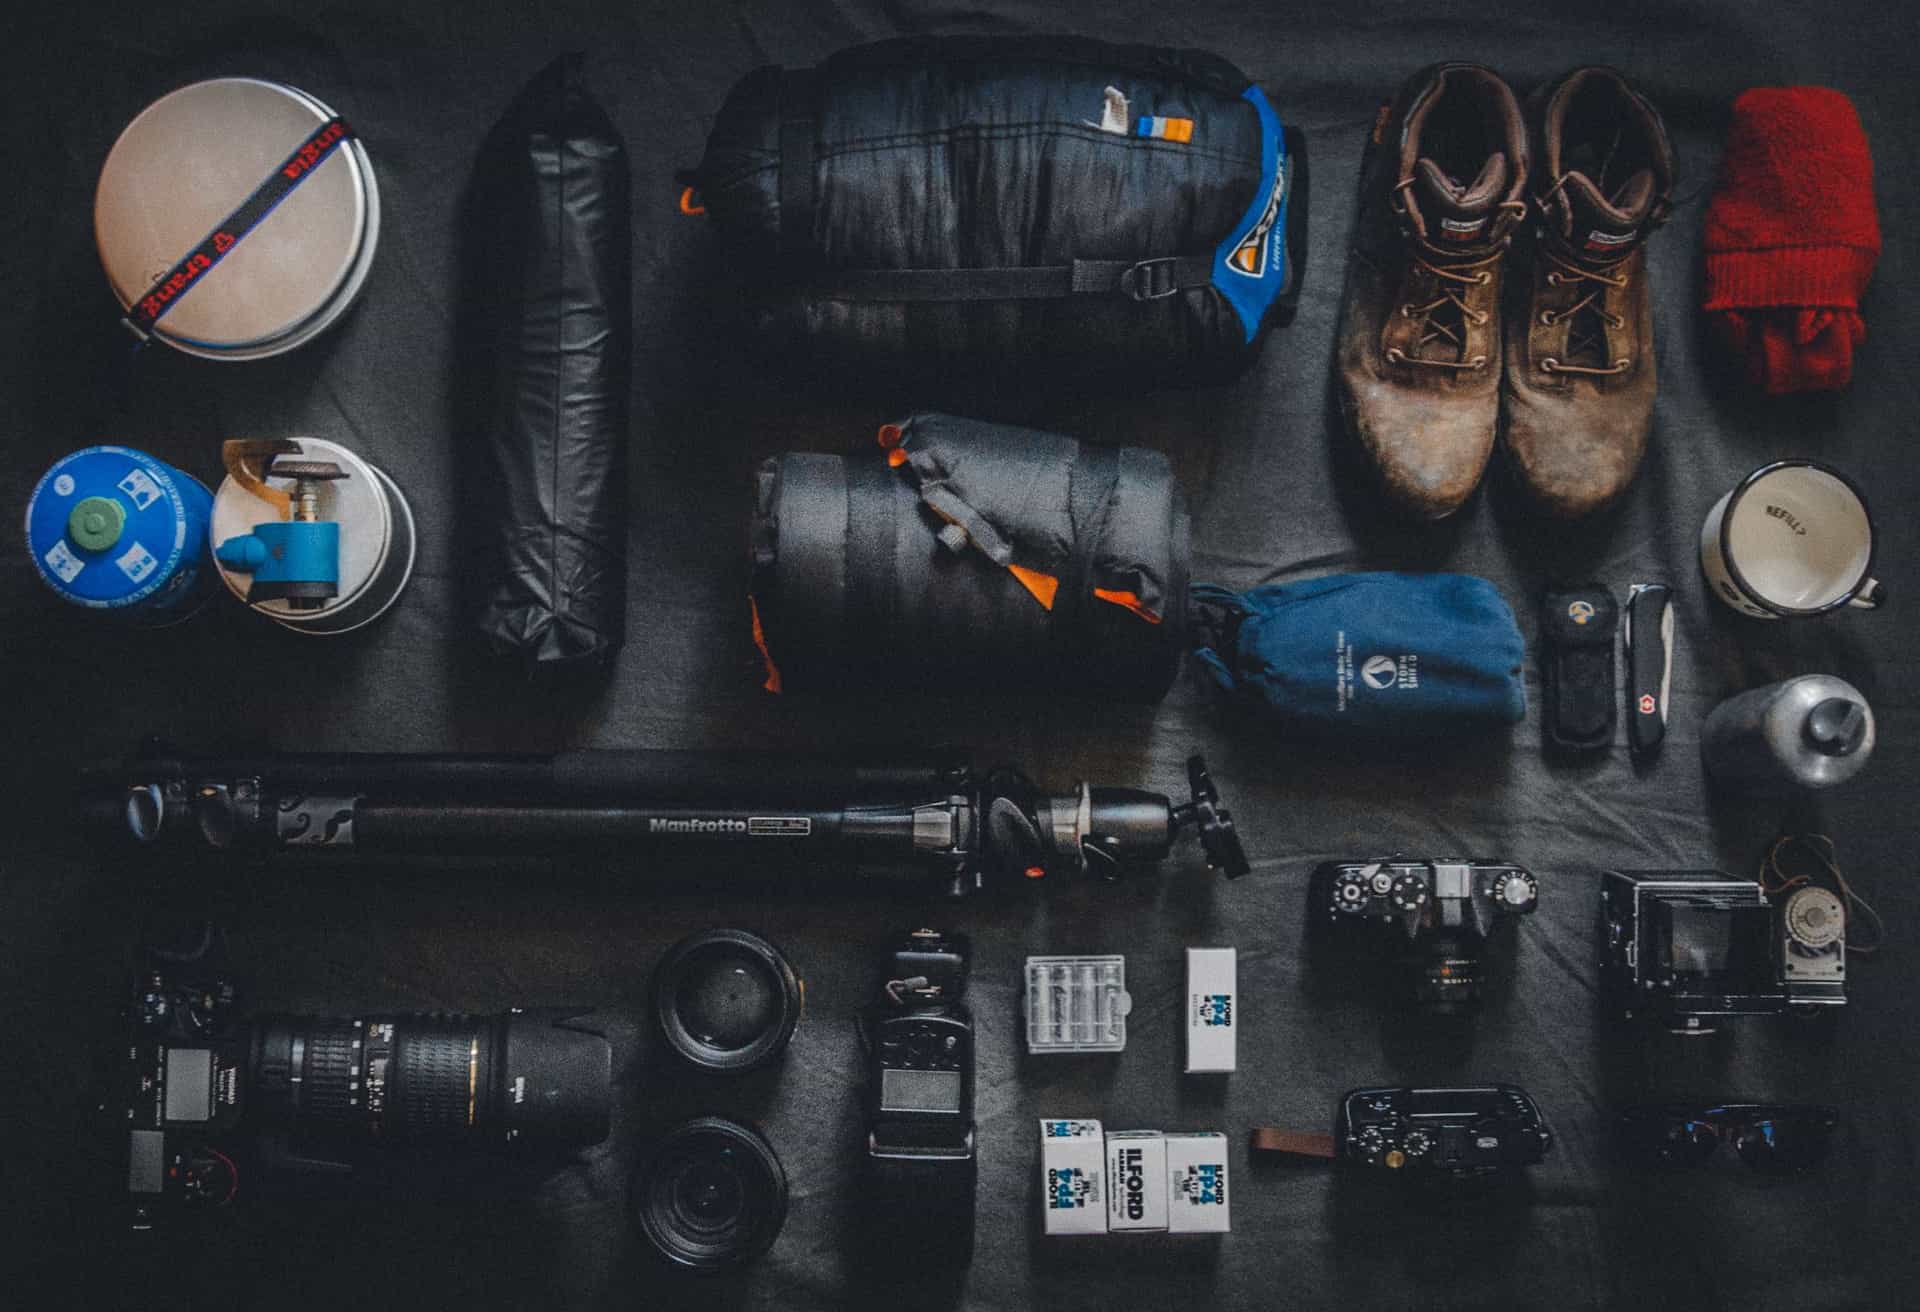
Most first-season repairs are a screw that vibrated loose. Keep a dedicated kit in the trailer and they stay two-minute jobs.
Step one, which decides the whole job
Look at the rear wall of the trailer, high and centered, for a black rectangular plate. Unclip the cover.
If there is a connector behind it, your trailer is pre-wired and this job takes half an hour: plug in, screw the camera on, power and pair the monitor. Stop reading the electrical sections.
If there is not, keep going. Everything below is about producing power where the factory did not.
Three ways to power a trailer camera
| Method | Effort | Notes |
|---|---|---|
| Factory camera plate | Minimal | Already powered. Plug and screw |
| Tap a high marker light | Moderate | Live with the running lights only, on most trailers |
| Dedicated fused feed from the battery | Higher | Always live. Best result, most work |
| Solar camera option | Low | No wiring. Depends on sun and the system supporting it |
The marker light tap
The clearance lights along the top rear of a trailer are close to where the camera wants to be, which makes them the obvious source. The catch is that on most trailers those lights are only live when the tow vehicle's running lights are on.
In practice that is usually fine, because you want the camera while towing. It does mean the camera is not available for watching a parked trailer, and it means the camera comes on whenever your lights do.
Do it properly: a weatherproof connector, not a twisted joint under tape. The connection lives in road spray.
The dedicated feed
Running a fused feed from the trailer battery gives you an always-live camera, which is the best result. It is also the most work, and it means routing a wire along the trailer frame.
Fuse it close to the battery, not close to the camera. The fuse is there to protect the wire, and a fuse at the far end protects nothing.
Mounting: high, centered, and aimed before drilling
High and centered on the rear wall, above the number plate lights and below the roof line. Mounted low, you mostly see your own bumper, which is not what you need when lining up on a site.
Test the view before you drill. Hold the camera where you plan to fit it, power it temporarily, and have somebody look at the monitor. Move it up, down and across until the view is right. Then mark the holes.
A camera two inches lower than ideal is not worth re-drilling a trailer's rear wall for, which is exactly why you check first.
Sealing, which matters more than the wiring
Any hole you make in the rear wall of a trailer is a potential water path into the wall structure, and water in a wall is a far more expensive problem than the camera cost.
Use a sealant rated for RV exteriors, apply it around the fastener and behind the mount rather than just smeared over the top afterwards, and check it at the start of each season with the rest of your roof and seal inspection.
Aiming and the road test
Adjust the angle so the rear edge of the trailer is just visible at the bottom of the frame. That gives you a reference point, which is what makes the view useful rather than just interesting: you can tell how far the obstacle is from your own bumper.
Then drive a short loop, including a stretch at speed, and confirm the wireless link holds. If it drops, the likely causes are distance, the antenna position, or something metal in the path. That is what a repeater is for on long rigs — see the wireless camera roundup.
What goes wrong
Drilling before testing the view. The most common and most annoying error, because it is permanent.
Skimping on the seal. Water in a rear wall is a repair measured in thousands, not in camera prices.
A twisted-and-taped electrical joint. It will corrode. Use weatherproof connectors.
Mounting the monitor in your line of sight. Low and to the side. It is a driving aid, not a screen to watch.
Expecting the camera to replace practice. Twenty minutes with cones in an empty lot teaches you more about how your trailer moves than any camera. See how to hitch a travel trailer.
Questions people actually ask
Does a wireless backup camera need wiring?
The video link is wireless but the camera needs power at the back of the trailer. That comes from a factory camera plate, a tap into a high marker light circuit, or a dedicated fused feed you run yourself.
Where should I mount an RV backup camera?
High and centered on the rear wall, above the number plate lights and below the roof line. Mounted low you mostly see your own bumper.
Can I power the camera from a marker light?
Yes, and it is the common approach. Be aware that on most trailers those lights are only live with the tow vehicle's running lights on, so the camera will not work on a parked trailer.
Do I have to drill into my trailer?
Only if your chosen mount requires it and you have no factory plate. If you do drill, seal every penetration with a sealant rated for RV exteriors, because water in a rear wall is far more expensive than the camera.
How should I aim the camera?
So the rear edge of the trailer is just visible at the bottom of the frame. That reference point is what lets you judge distance rather than just see what is behind you.
What if the wireless signal drops while driving?
Usually distance, antenna position, or metal in the signal path. Repositioning the monitor helps, and on long rigs the repeater that some systems offer is the proper solution.
Sources
Read next
Towing & Security
Best Wireless RV Backup Camera
Wireless camera systems that work on any trailer, with range guidance by rig length.
Towing & Security
Furrion Vision S Review: Check for the Plate First
The plate-matched wireless camera reviewed, with the compatibility check that decides whether it is the right buy.
Towing & Security
Best RV Backup Camera for a Travel Trailer
Backup cameras for a travel trailer, split by whether your rig has a pre-wired factory mount.
Reviewed September 25, 2026. Spot something out of date? Tell us and we will fix it.